


99_XC600
-
Posts
582 -
Joined
-
Last visited
-
Days Won
2
Content Type
Profiles
Forums
Events
Posts posted by 99_XC600
-
-
I think this is the 1st time I've seen windows at a strip club.
")
-
 1
1
-
-
It was somewhat relaxing.
I started with changing the oil in my wife's Jeep. Something I've done about 100 times. For whatever reason, the oil filter would not come off. It just deformed and was then punctured by the strap wrench. So I had no choice but to find a way to get it off.
I grabbed the biggest set of channel locks I had and managed to extract that POS from the engine. What should have taken about 15 min to complete ended taking an hour,
Most of the time I was just staring and shouting obscenities at it.
-
4
-
-
Good progress. Pretty soon you'll be dipping your toes in the water.
-
1
-
-
Spent some time in the garage.
Changed the the oil and trans fluid in the Cruze. I bet you wouldn't think that you would need to use a 4 foot level to check the level for the trans.


-
3
-
-
I've been using the 20V line for about 2 years now. No complaints and they're a good value.
-
3
-
-
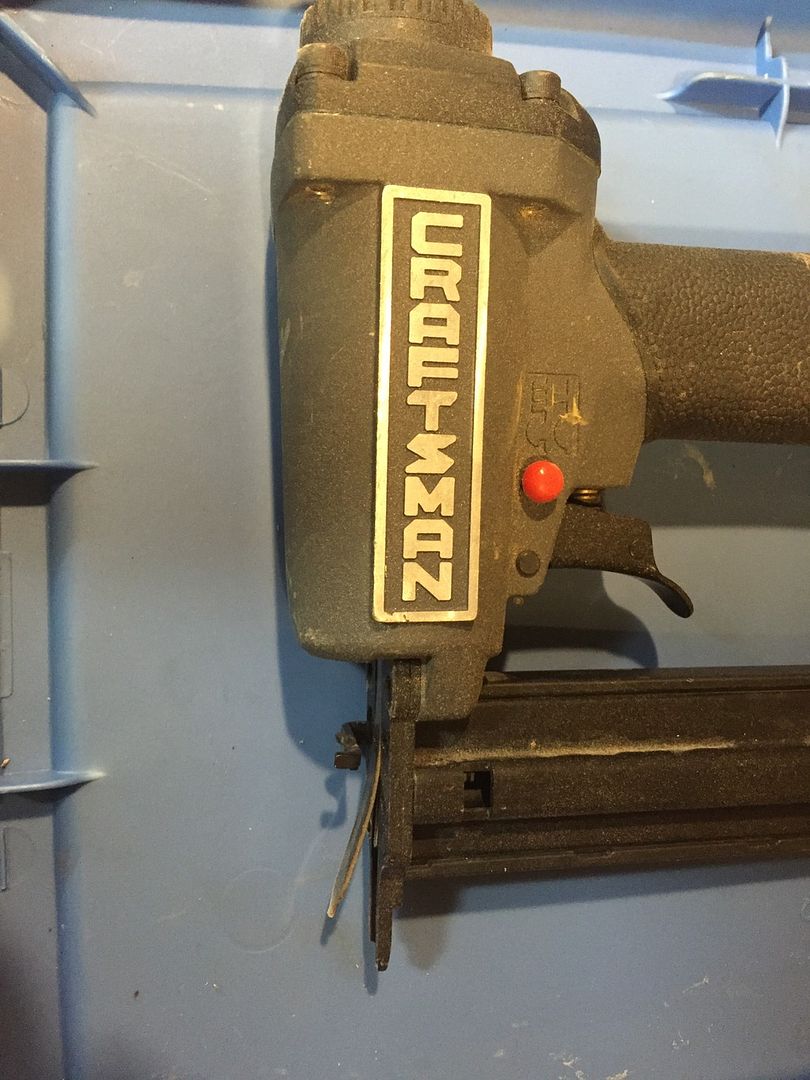
Yah. I didn't even realize they made 16gauge brads. Apparently there's about 4-5 guns on the market that uses them.
-
-
-
I was finishing putting some shoe molding in my pantry and I'm pretty sure I killed my brad nailer. I put some 16 gauge nails in it and it shot about 10 before it completely jammed up.
Turns out that it only accepts 18 gauge nails. Lol
-
1
-
-
If I could get one tool from PC it would be a 20v ratchet for when working in tight quarters
-
1
-
-
Thanks!
For the most part I'm satisfied with the PC lineup. My only gripe is that the offering is stagnant. In comparison with Milwaukee and Dewalt that they offer multiple versiions of tools within the same battery platform. With PC it's essentially that one tool and that's it with no updates or expansion.
I went into Lowes the other day hoping too see the box but nothing yet.
The 52" Husky is just about full. I've been thinking about grabbing a couple of the workbenches for additional storage.
-
1
-
-
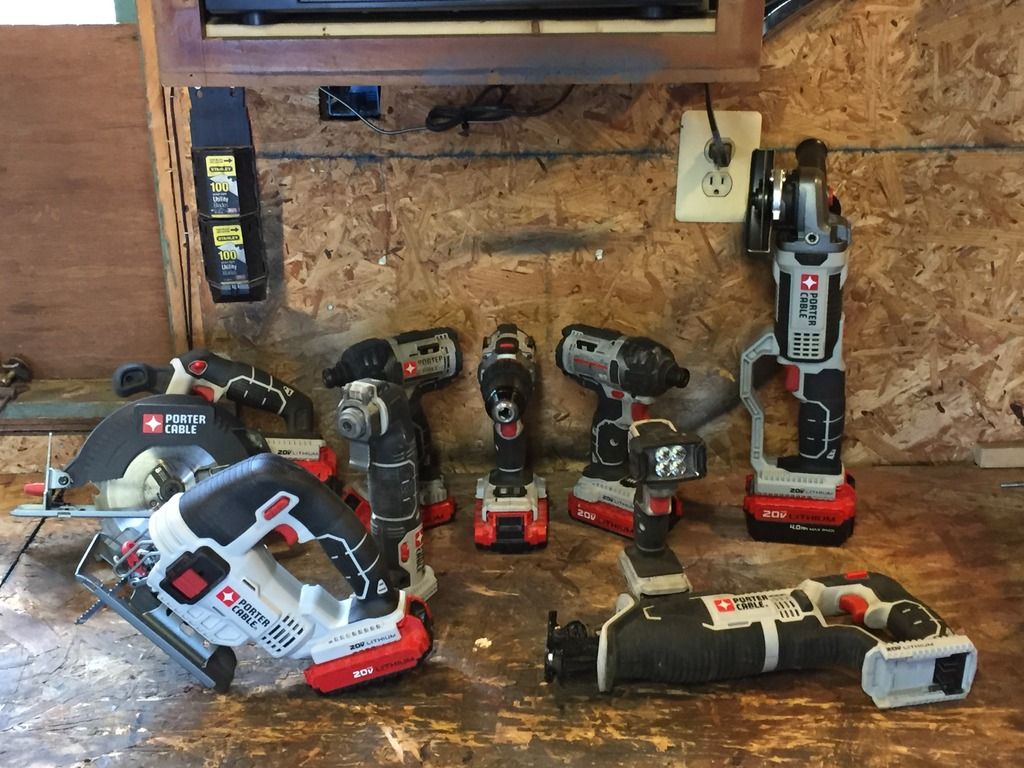
As I'm finishing up a couple of projects around the house. I desperately needed to round everything up and put everything away and organize everything. As I was collecting the horde, I figure I would post a glamour shot of the Porter Cable tools that I have and let them represent the other Porter Cable fans we have out there.
We have the fan base of Team Red, Team Yellow and Team Green but don't forget about team Grey and Black or whatever color scheme they are trying to establish!. LOL
-
11
-
-
It's all based on Consumer Knowledge. Unless you're the one of the crazies (Like US) who constantly search for the best deals and the like. The average buyer will have no idea on whether most things are a good buy or not.
-
3
-
-
18 hours ago, kruton said:
That is something I need to invest in. The gas pressure washer we have at the farm is entirely too much for using around the house. I need something a little more manageable. Looking forward to seeing the end product!
Sent from my SM-N900V using Tapatalk
I like the Greenworks due to the simplicity and the low price point. It's good on Masonry and Concrete, but with decking, it will get the job done. It's just going to take you longer.
I've seen that the electric versions are getting and better and better each year though.
-
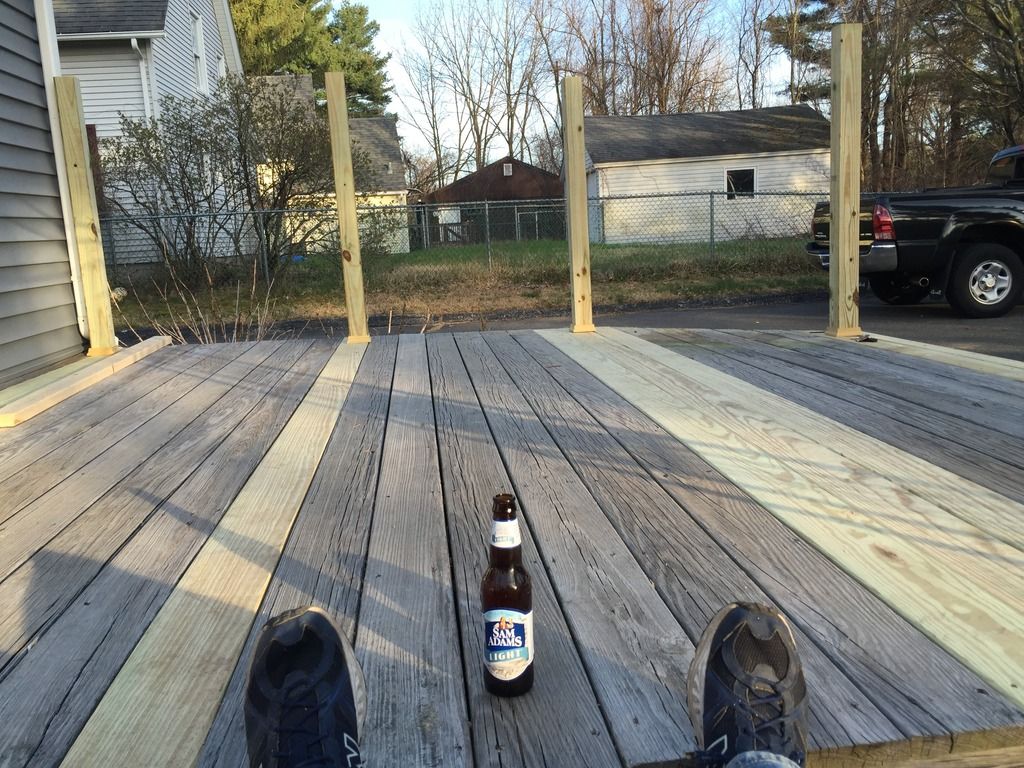
No doubt. I love Sam Adams, they keep it interesting pretty much all year.
-
1
-
-
Yes, I need to head over to my Dad's and get his gas powered pressure washer. My GreenWorks would do it, but the gas one would do it a lot quicker.
-
1
-
-
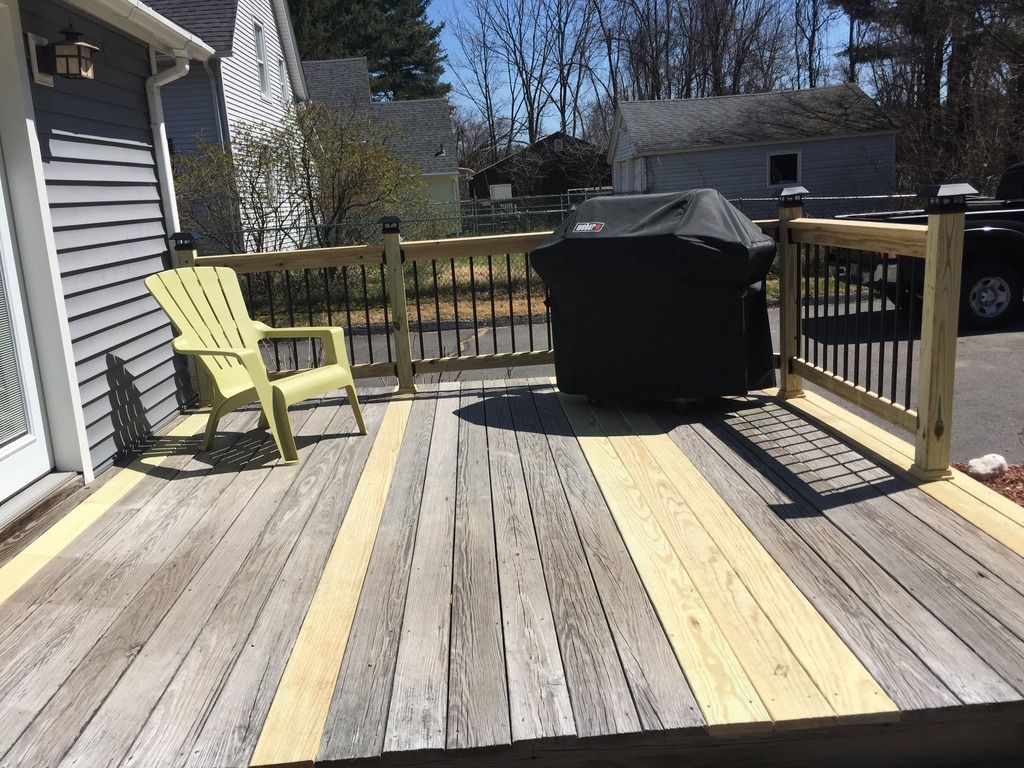
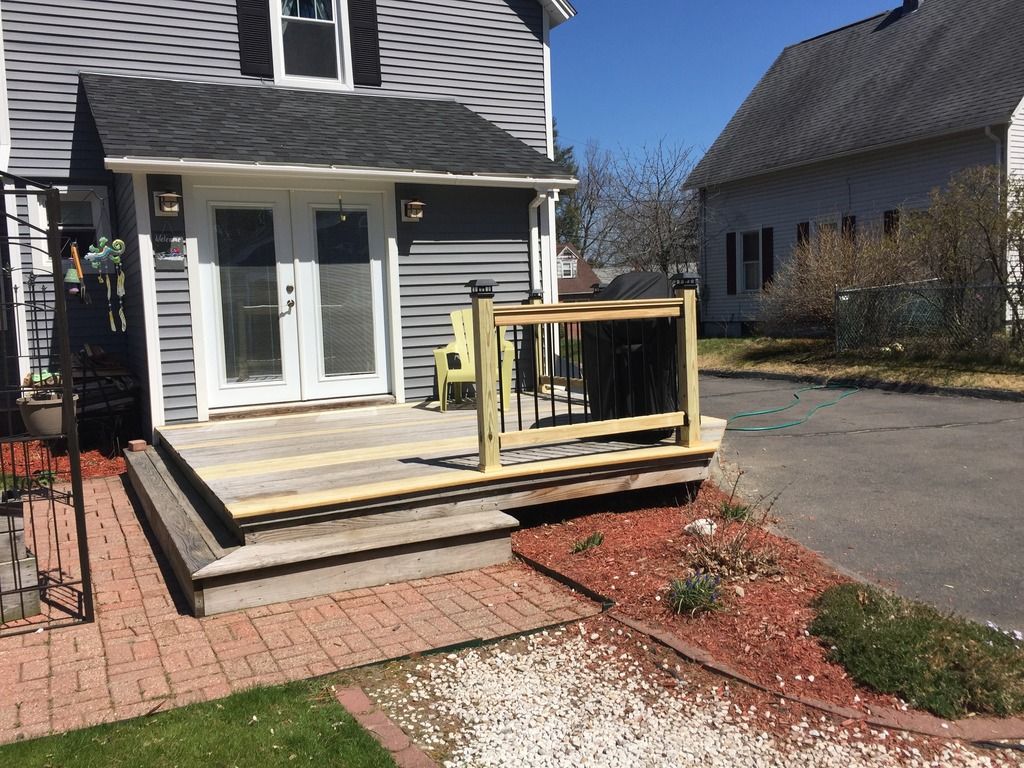
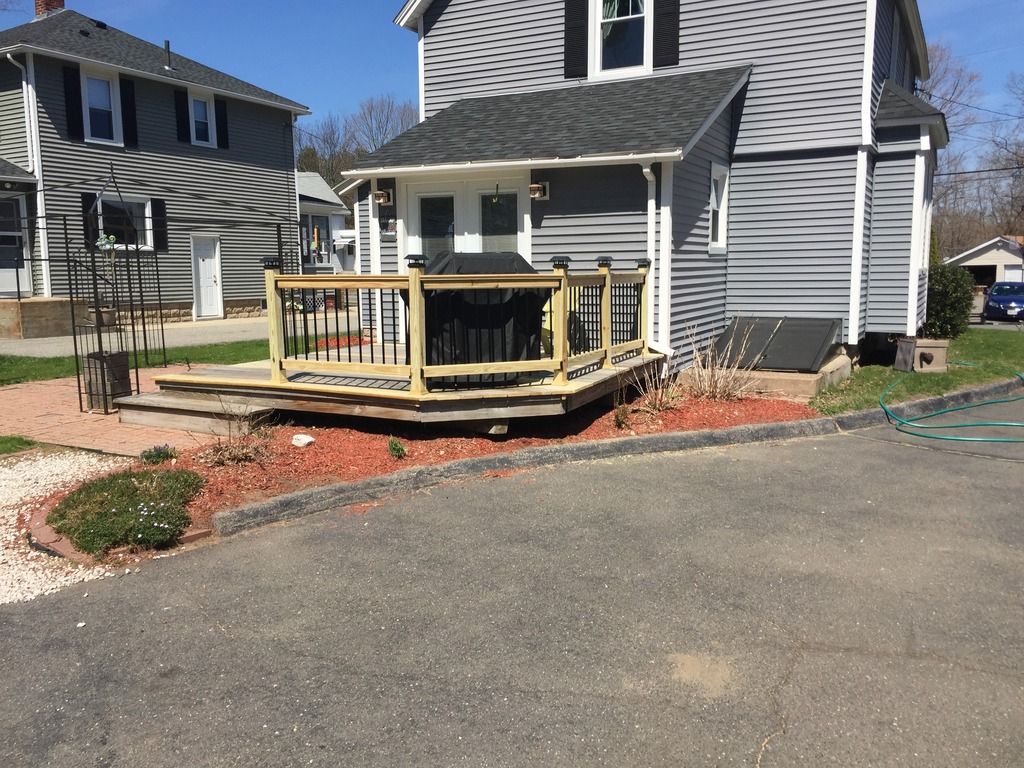
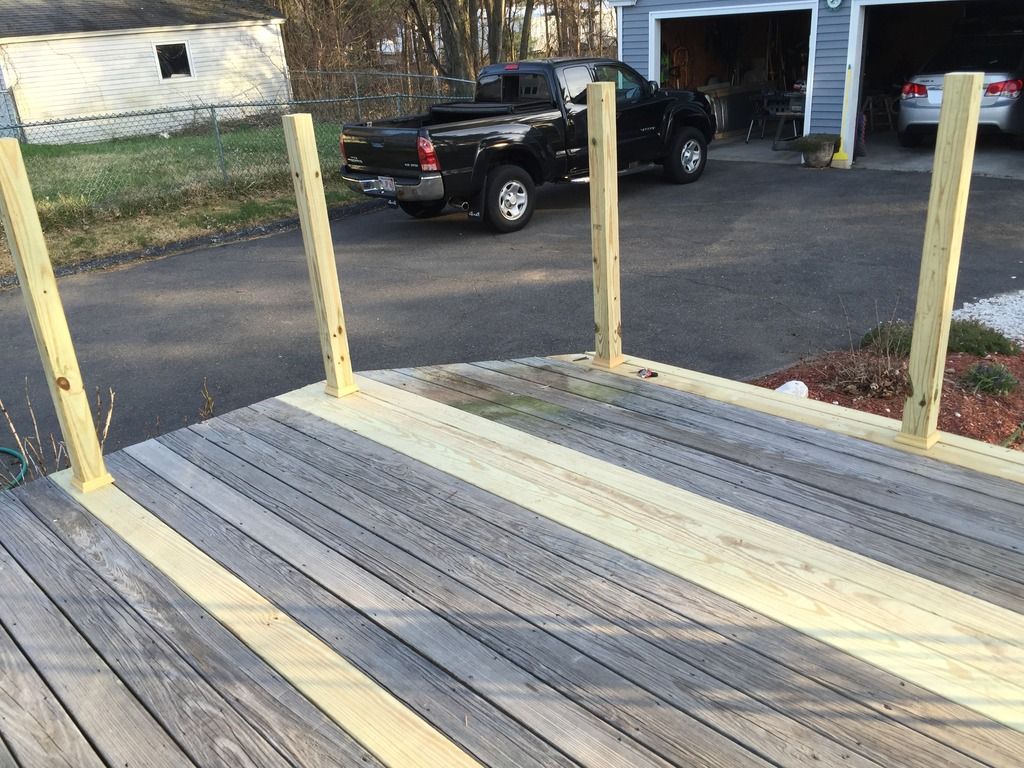
Day Two
My wife really wanted the black balusters and after looking at all of the different options and individual pieces. I decided to pick up the pre-assembled kits to mainly save time. This wasn't really the case in the end.
At the end of the project, it came out ok. But the kit has a tendency to rack very easily since the balusters are very loosely fitting in the dowel holes. Since the kit is already pre-made there is no real room for error.
The installation process is that you first need to center the assembly between your posts and then determine an equal distance between the balusters and then cut the top rail.
You then need to fit the top rail, level it off and then make sure the lower rail is not racked. You then need to mark the lower rail and then cut it. It wasn't a 5 minute process, I wasted a lot of time with the assembly between the posts only to do a lot of fine tuning with it.
I think if I ended up using traditional lumber for the head and foot rail and then just bought the pieces that had mountable bases it would have gone a lot quicker.
-
1
-
-
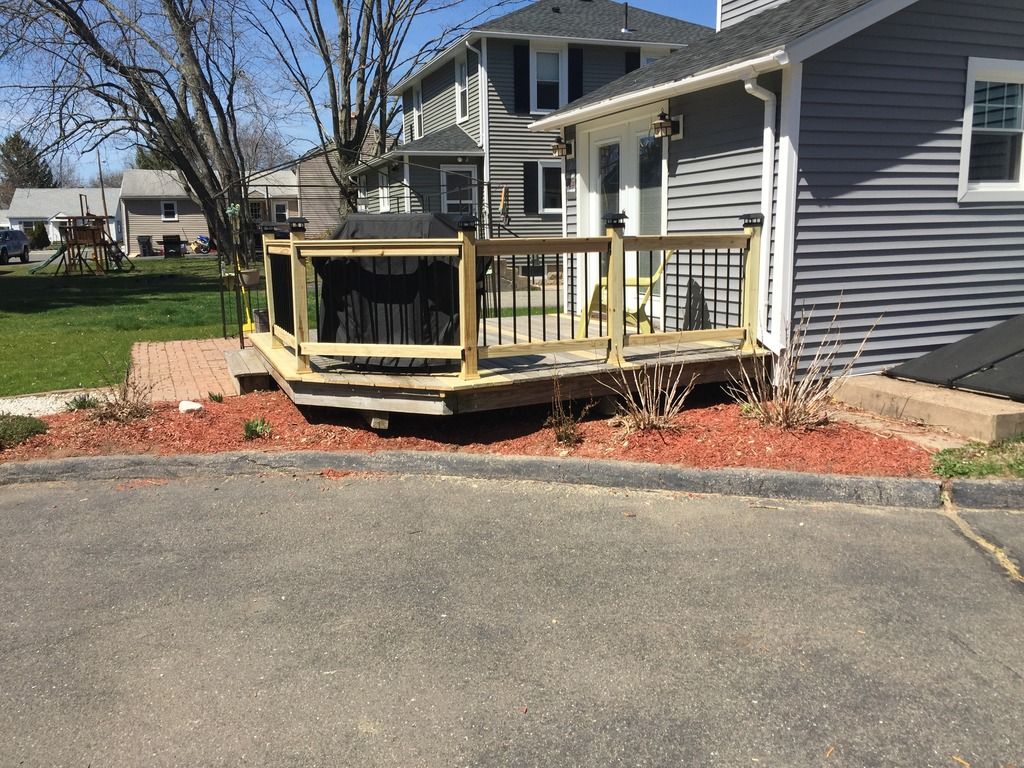
Day One
Spent Saturday ripping up some of the rotten deck boards and a couple of others where the posts would be placed. Once that was all done, Took a trip to HD to pick up the supplies.
HD only had 8' posts. I know Lowes had 6' posts, but I didn't feel like driving over there with a loaded truck and spend another 45 minutes in the store to get them. So needless to say, they were a little long.
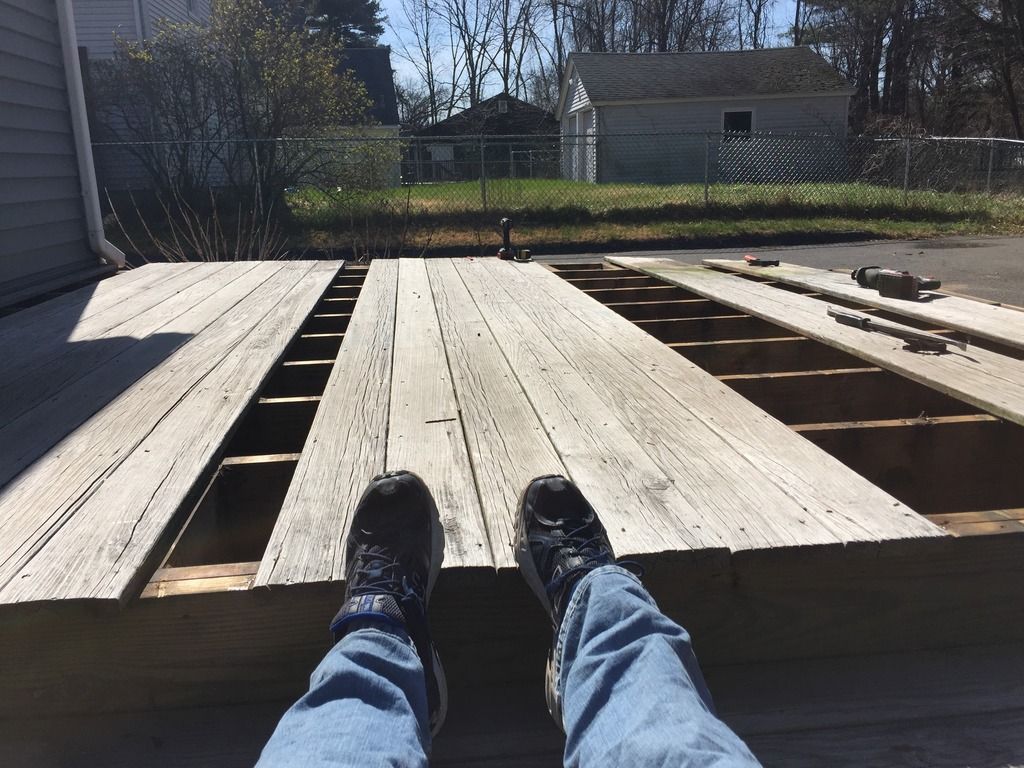
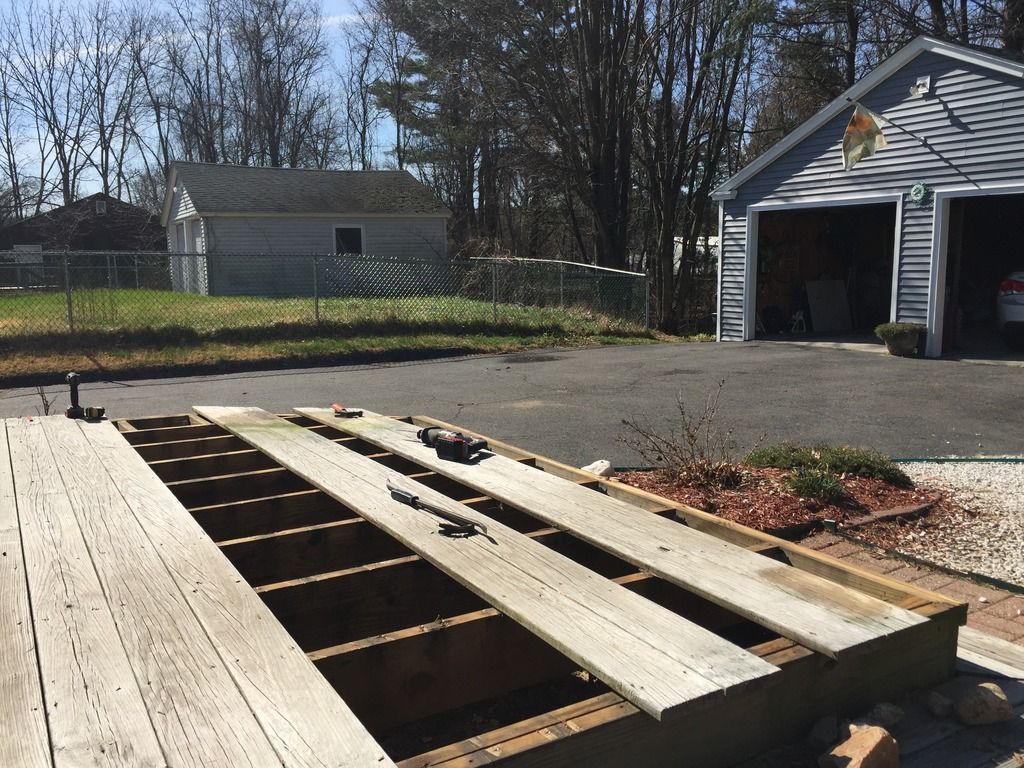
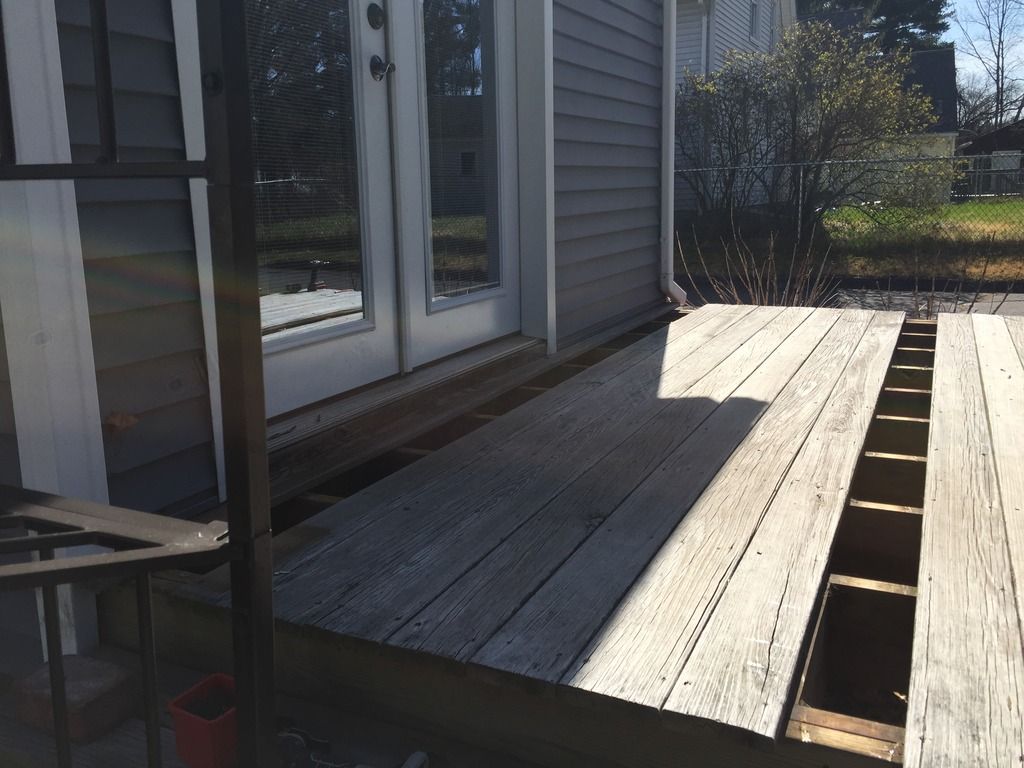
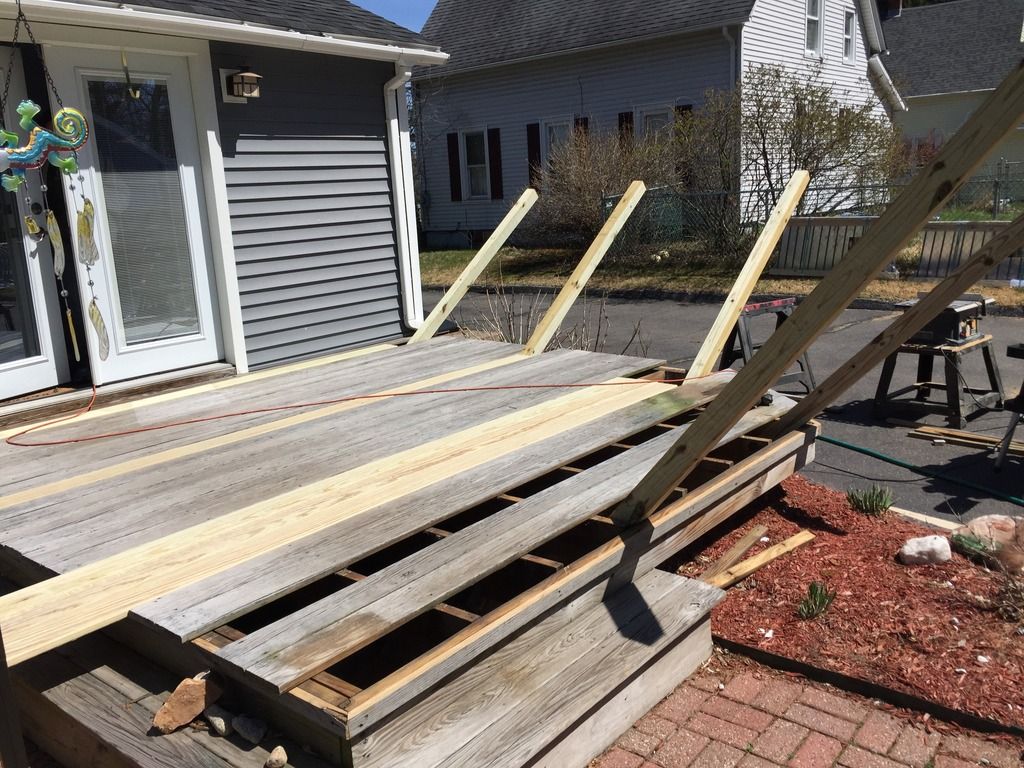
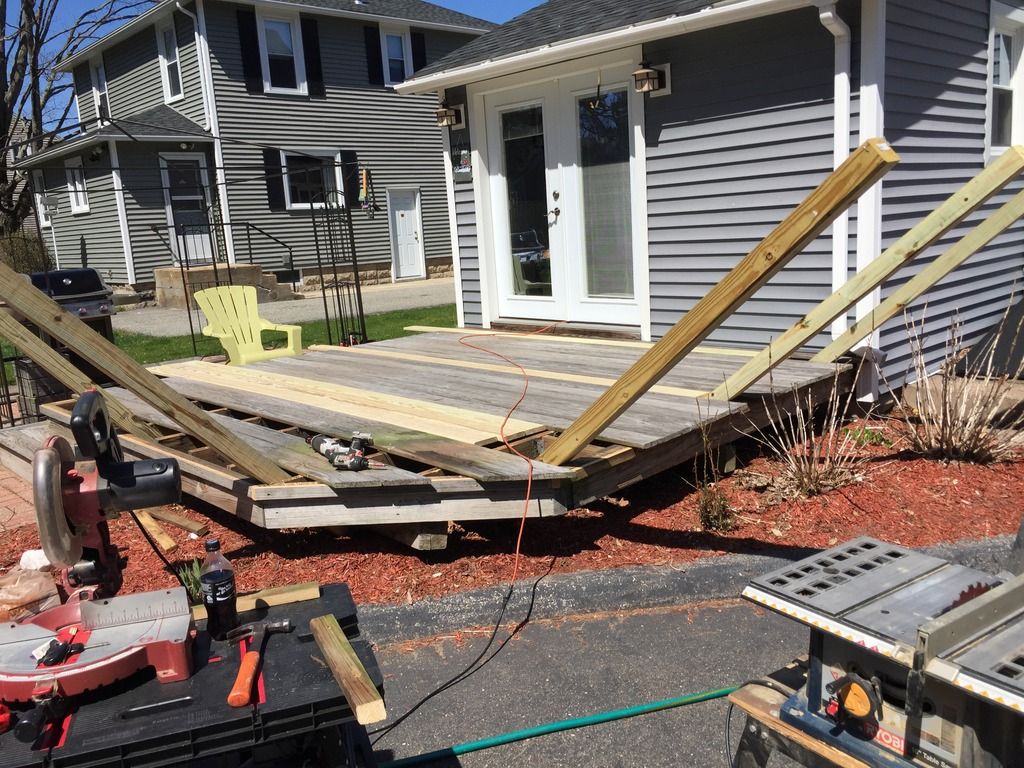
Managed to get all the posts set and the decking down along with all the trim rings installed before the day ended.

-
2
-
-
Sounds good.
I'll split it and post the pictures next week.
-
5
-
-
On 4/2/2016 at 8:31 PM, BMack37 said:
I didn't buy this because it was free with purchase, but be warned. The Pittsburgh quickfind tape measure is not accurate, it's off by about an 1/8": http://www.harborfreight.com/hand-tools/measuring-tools/25-ft-x-1-in-quikfind-tape-measure-with-abs-casing-69030.html
I stocked up on those POS when I was replacing the roof on the garage. If they rolled off and smashed against the driveway I really didn't care.
-
1
-
-
I have a deck on the back of the house which I'll be putting a railing on next week. One side of the deck is 9'.
From what I've been reading is that the spacing between posts should be about 6'. But that would leave me with a railing of 3' wide. Which I think would look odd.
Should I split the difference and have a post every 4.5' or just run a single length of 9' between posts?

-
1
-
-
I've had my Husky 52" for over a year now and I've had no issues or regrets with it. I would buy it again if needed,
-
2
-
-
-


What did you do today? A thread dedicated to the general use of tools in your projects.
in Pub Talk
Posted
Same situation as the Avenger. No dipstick.
On the drivers side of the transmission there is a fluid level indicator hole which has an 11MM bolt in it. Once you drain the fluid, you need to remove the bolt and then begin the filling process. While the car is running and in park, you continue filling until fluid begins to weep out of the hole.
The level is too ensure that the car is level and the fluid indicator hole is not sitting at an angle which would throw off the amount of fluid in the tranny.
Yes, in case you're wondering it's a stupid design. Since after you fill it, you then need to drive the car to get the fluid up to operating temp and check the level again.